Pregnancy (40) Baby (24) Kids (11) Marriage (9) Crafts (8) Stitch Fix (6) Vacations (5)
Showing posts with label Crafts. Show all posts

Tuesday, October 23, 2012

40,000 views!

My blog hit 40,000 views this morning! I am in SHOCK that it's seen so much activity, but I owe it all to my spur of the moment Christmas wreath I made last year.  My husband was out of town for a few days working and out of boredom I decided to try and make my own wreath.  I decided to post it on Pinterest and it went viral! I never would have thought it would be such a big hit.  Here's the picture that inspired it all :)


So with that in mind, get to crafting!

Tuesday, September 4, 2012

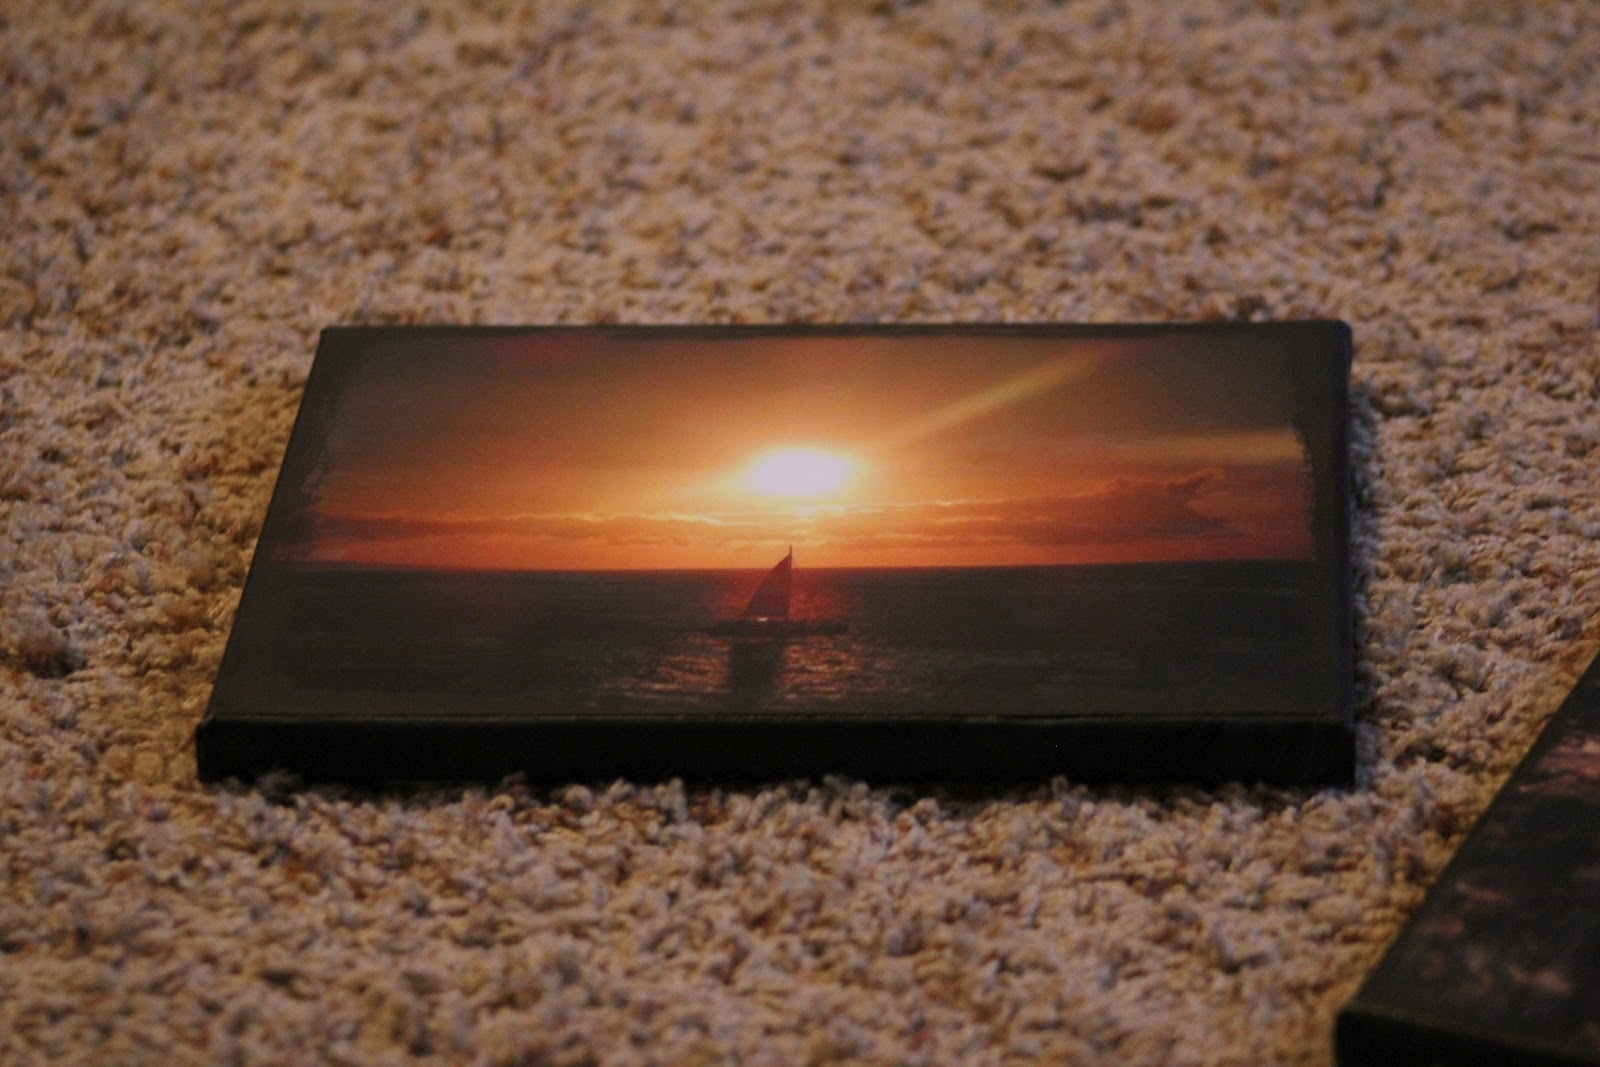
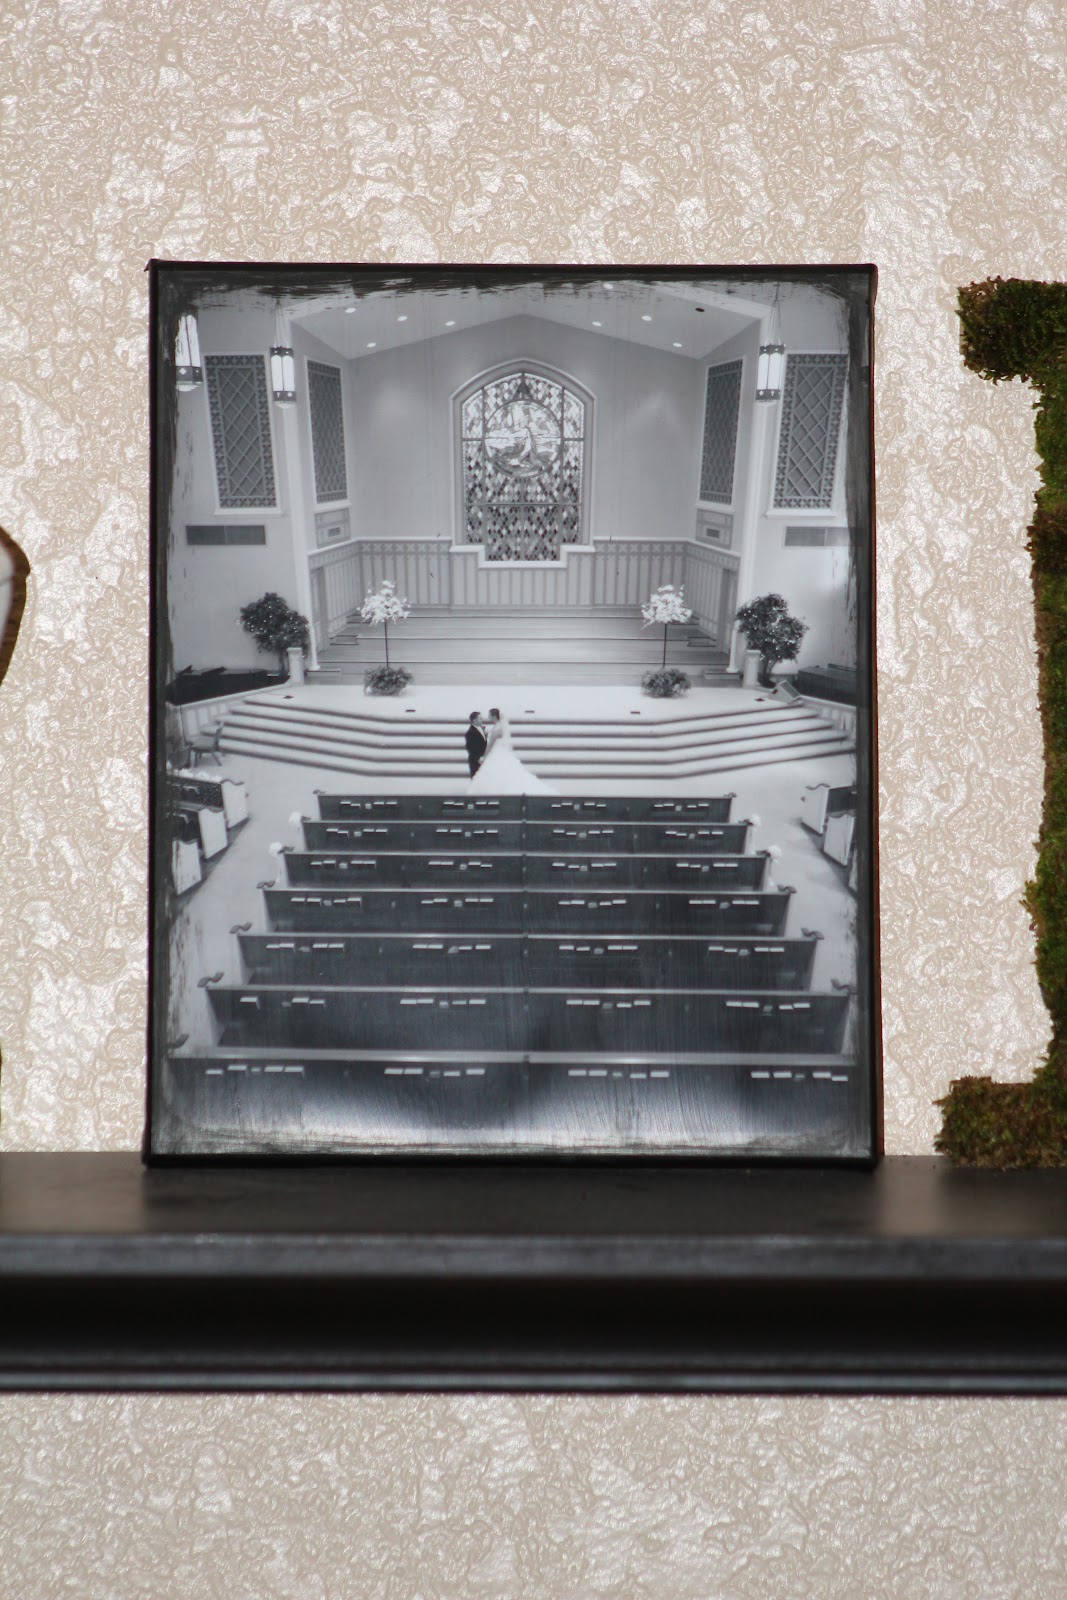
Photo Canvas Tutorial

I've been wanting to make a photo canvas for a while.  We have so many amazing pictures from our wedding and honeymoon, and I wanted to do something more than throw them in a picture frame.  After reading tutorials, I finally gave it a shot and I was surprised at how easy it was!
You need:
Canvas
Mod Podge
2 Paintbrushes
Paint (any color)
Scissors or paper cutter

First you need to paint the edges of the canvas the color you selected.  Also, you should paint the top of the canvas about an inch in from the edges (in case your photo is slightly smaller than the canvas).

While the paint is drying, trim your photo to the desired size.  I wanted mine to be slightly smaller than the 8" x 10" canvas.

After the paint is dry, spread mod podge on the front of the canvas and apply the photo.  Press the photo onto the canvas, rubbing out and rippling or bubbles that appear. I turned mine over and rubbed the paint bottle on the back.


Now spread Mod Podge on top of the photo and down the sides that you painted. At first it will appear white (don't worry! This is normal!), but dries clear. I spent a little bit of time on this step making sure that I had even strokes. While it dries clear, you can see the brush strokes if you look carefully.
Note: Make sure the paint is completely dry before you start using the Mod Podge. If you go over a wet spot you will smudge your photo.


I used 8" x 10" pictures for this project, but I'm already planning on doing a couple of larger ones for my living room. :)

Wednesday, May 30, 2012

Ladies Night - Handmade Cards

My Sunday School class had Ladies Night recently, and we handmade cards to send out to members of our class.  We all brought supplies we had at home (scrapbook paper, scissors, stickers, paper cutters, stamps, etc.) and got to work!


Here are the cards that I made:

"A Little Hello"

"Psalm 52:8"
 "Thinking Of You"

"Damask Stripes"


Here are some of the other cute cards that were made by the other ladies:

"Count the Happies"

 "Owls"

"Colorful Stripes"

"Hearts"


Saturday, January 28, 2012

Mirror Makeover

I went to Trade Days in Canton, TX in November last year and was on a mission to find a mirror with an ornate frame that I could paint black.  I came across this beauty and got it for only $20! It's really heavy and seems pretty old, plus I thought the frame had a lot of potential!

Here is the before picture:


Here's a close up of the frame detail before:


And here is the after:


I love how it turned out! I think it looks fabulous in black.


So for about $25.00 (the mirror and a can of black spray paint), I have a beautiful mirror to hang in my entry hall!


Saturday, January 7, 2012

Moss Covered Initial

I saw this on Pinterest (surprise, surprise!) and decided to give it a shot.

All you need is:
Hot glue gun
Scissors
Preserved Sheet Moss (I bought 3 pkgs and only used 2)
Wooden Letter

This is the moss that I bought at Hobby Lobby.  It was $3.99 per package.


I just cut out pieces of moss to fit the letter.  I laid the pieces aside and glued them on piece by piece.  After I finished, there were a few spots that looked bare, so I added a little bit more in those places.  Here is what I ended up with:


And here is how it looks on the shelf!


 Not my best work, but not bad overall!  If you decide to try to create a moss initial, I suggest painting the letter green first, or cutting the moss larger than the actual letter so that you can fold it around the edges.  This way no wood would show. 

Happy New Year!


Sunday, November 27, 2011

Christmas Wreath

Finally found a magnetic wreath holder for my door so that I could hang my wreath.  Here is a close up of the finished product:


I got all of my supplies from Hobby Lobby. I used ribbon, ornaments, bells, and painted a wooden letter to match.  I used a hot glue gun to attach all of the decor.  It was pretty difficult to attach the flat letter to the round wreath, but with enough glue sticks you can do anything :)

Here is a shot of the entire door and another close up:


This was such a fun project and I'm happy with how it turned out.  It was so easy to do! I hope I inspired you to make your own :)

Saturday, November 19, 2011

It's beginning to look a lot like Christmas!

Christmas is my FAVORITE holiday, so I tend to completely bypass Thanksgiving.  This is my first Christmas in my own home (previously I've lived in apartments) so I have been looking forward to decorating. 

I've only put a few touches around the house, but I'm excited about what I have so far. 

My first creation was glittered pinecones.


This was so easy to do and I think the result is gorgeous. All you need is pinecones, your choice of glitter, spray adhesive, and paper sacks.  Fill a paper sack with a generous amount of glitter, spray a pinecone with the adhesive (make sure to get underneath too), drop in the paper sack, and shake for a few seconds.  I found that it helped to wear gloves, otherwise you end up covered in glue and glitter. 


This vase filled with sticks was my next project.  I found sticks in my backyard and spray painted them silver.  To make it really festive, I added small red ornaments and a big red bow on the front of the vase.

While shopping a few weeks ago, I came across these gorgeous red feather trees.  I really, really wanted to get one, but I couldn't find a red one in the 12" size I wanted... so I decided to try to make it myself.  It only took me about 30 seconds to find a tutorial online (Here is the Martha Stewart Tutorial that I used).  All you need is a styrofoam cone, feathers, a skewer, and hot glue.  I found that it took 3 bags of feathers to complete my 12" tree.  I was picky about which ones I wanted to use.  My only complaint was that my feathers didn't curve out as much as the ones Martha Stewart used.  Overall I liked the end result though. :) 

So here is my finished Christmas shelf.  I lined it was garland and added a cute silver reindeer that I picked up the other day.  I like how it turned out, but I'm sure I can think of something else to add to make it even better. 

I'm almost done with my wreath, so I'll be posting a picture of that in the near future!

Tuesday, November 15, 2011

Crafting while the husband is away

My husband is gone for work a lot, so I tend to have a lot of free time on my hands.  I decided to fill my time with crafts!   Here are a few things I've done this month:


We had a bare wall that I couldn't figure out what to do with.  I decided to install a shelf (from Target) and add some decor.  I love the button initial on covered canvas.  It was very easy to make.  I attached the fabric (Michaels) to a small canvas (Hobby Lobby), then added different sized buttons to make an 'M' on top.  I put together the vase (everything came from Just a Dollar!).  I think the pebbles inside the vase add a nice earthy element. 

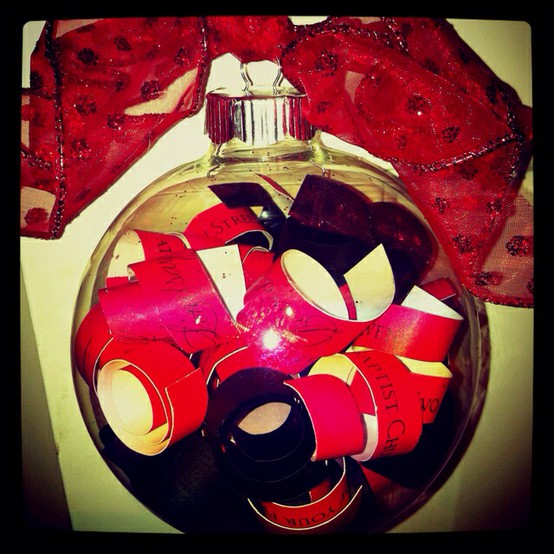
I saw this idea on Pinterest and knew that I had to make one for myself.  I just got married in September and had a few leftover invitations.  All you do is cut the invitation into strips, roll them up (I wrapped them around a pen), and put them in a clear ornament! It's such a cute idea for newlyweds and a good idea to give as a gift!  I tied ribbon on the top to dress it up a little bit more.

I'm working on a few more Christmas crafts and will have much more to post in the next couple of weeks. :)