
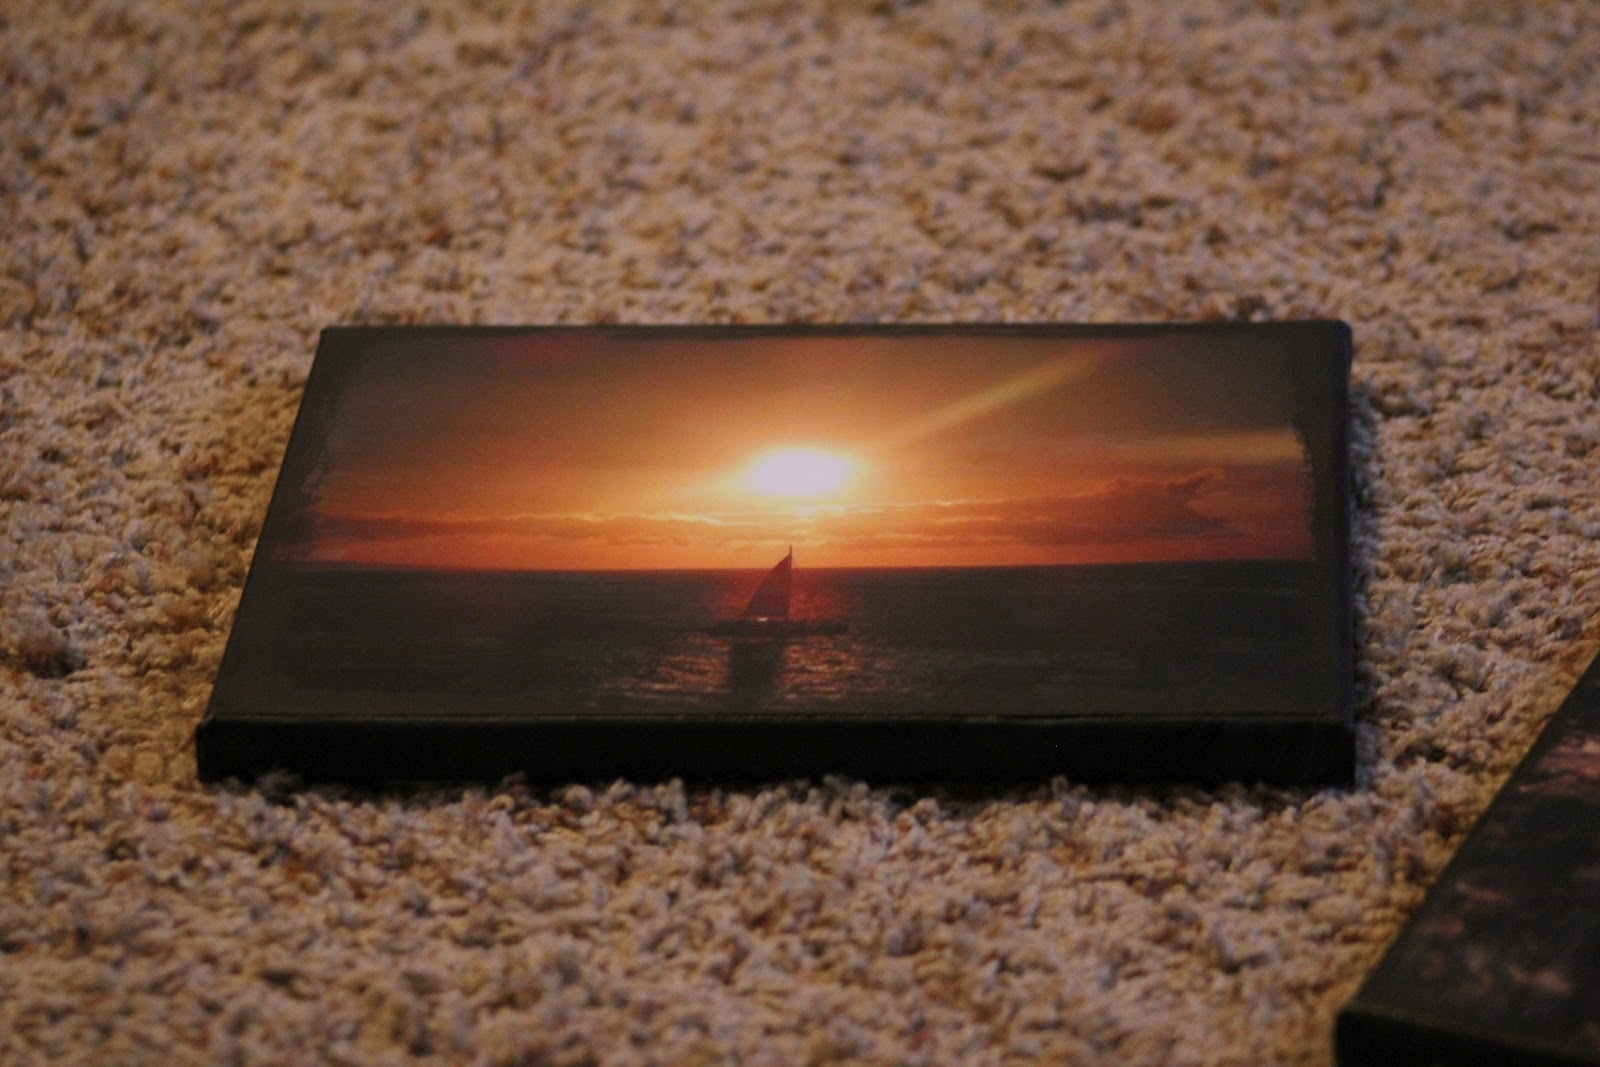
I've been wanting to make a photo canvas for a while. We have so many amazing pictures from our wedding and honeymoon, and I wanted to do something more than throw them in a picture frame. After reading tutorials, I finally gave it a shot and I was surprised at how easy it was!
You need:
Canvas
Canvas
Mod Podge
2 Paintbrushes
Paint (any color)
2 Paintbrushes
Paint (any color)
Scissors or paper cutter

First you need to paint the edges of the canvas the color you selected. Also, you should paint the top of the canvas about an inch in from the edges (in case your photo is slightly smaller than the canvas).
While the paint is drying, trim your photo to the desired size. I wanted mine to be slightly smaller than the 8" x 10" canvas.
After the paint is dry, spread mod podge on the front of the canvas and apply the photo. Press the photo onto the canvas, rubbing out and rippling or bubbles that appear. I turned mine over and rubbed the paint bottle on the back.

Now spread Mod Podge on top of the photo and down the sides that you painted. At first it will appear white (don't worry! This is normal!), but dries clear. I spent a little bit of time on this step making sure that I had even strokes. While it dries clear, you can see the brush strokes if you look carefully.
Note: Make sure the paint is completely dry before you start using the Mod Podge. If you go over a wet spot you will smudge your photo.
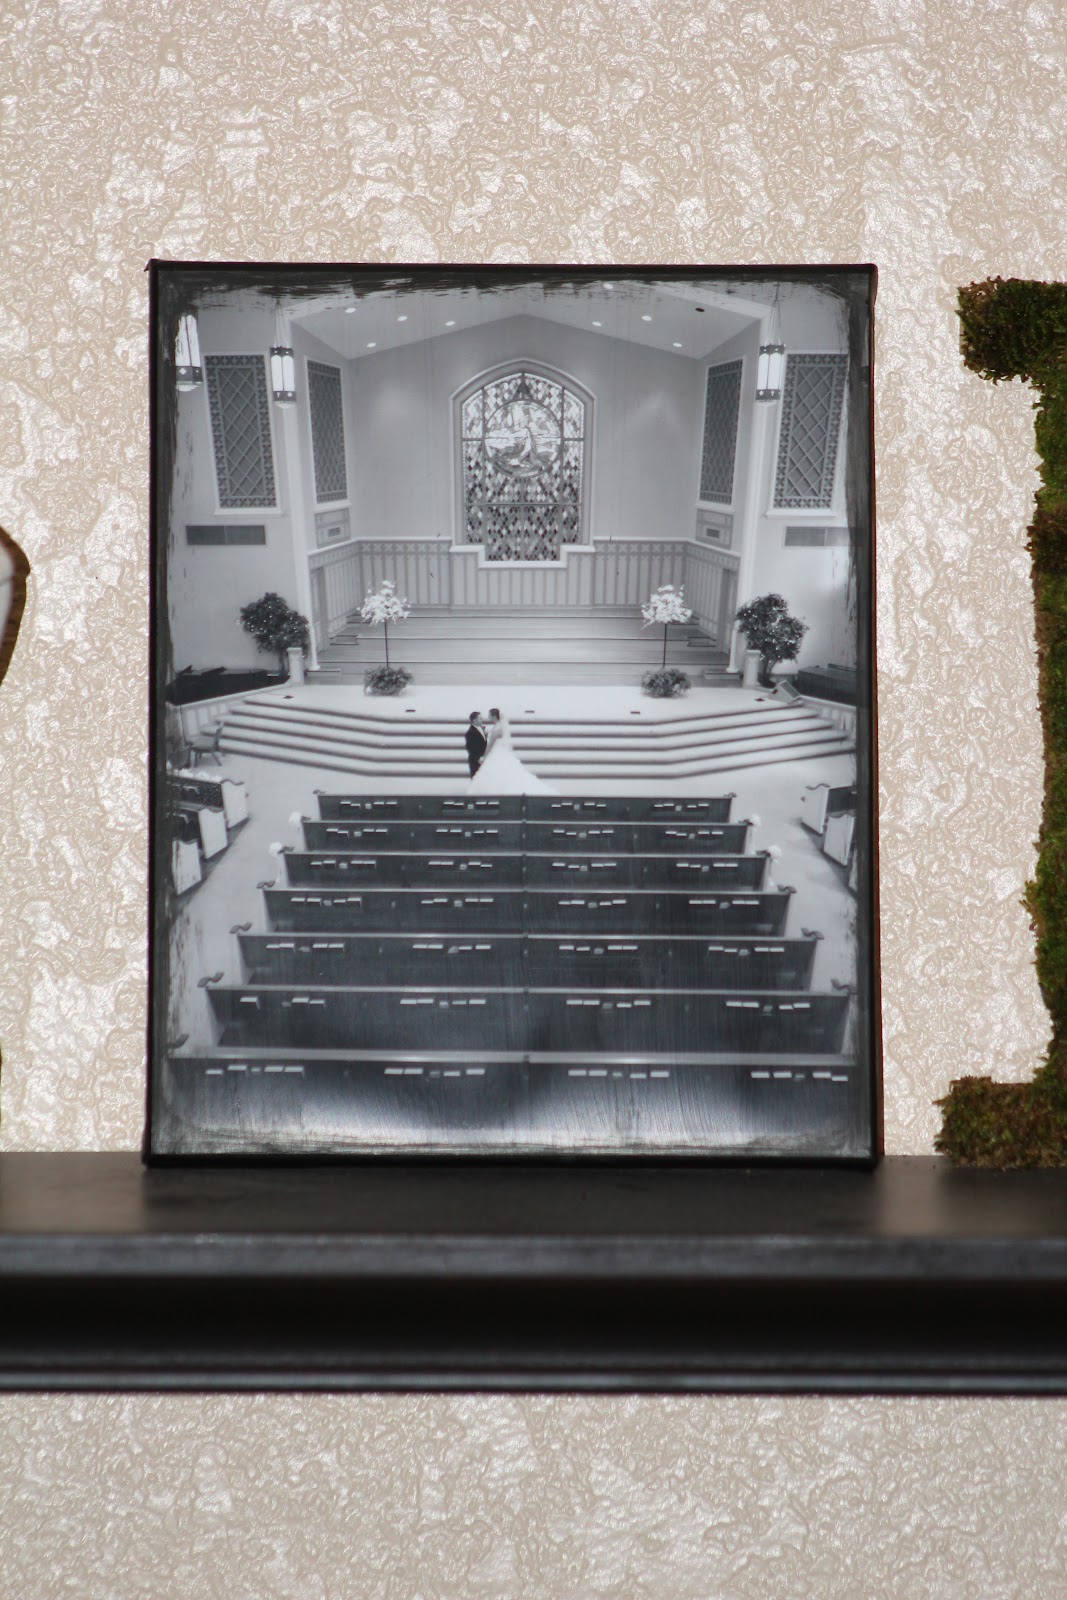
I used 8" x 10" pictures for this project, but I'm already planning on doing a couple of larger ones for my living room. :)


No comments:
Post a Comment
I love hearing your feedback! Leave a comment and let me know what you think :)